Installation steps
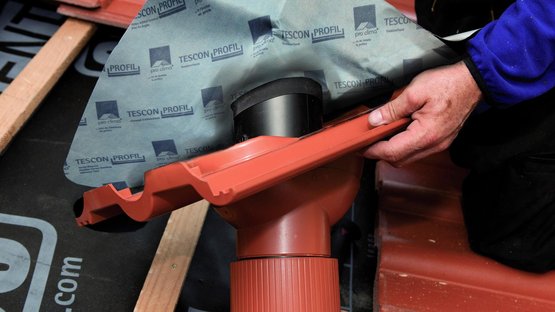
1. Pull the grommet over the pipe
Pull the grommet over the vent pipe in such a way that the longer side of the grommet will later be facing the eave. The sleeve must be facing the roof tile. The separation distance between grommet and ventilation tile should be approx. 6 cm (2 3/8").
1. Pull the grommet over the pipe
Pull the grommet over the vent pipe in such a way that the longer side of the grommet will later be facing the eave. The sleeve must be facing the roof tile. The separation distance between grommet and ventilation tile should be approx. 6 cm (2 3/8").
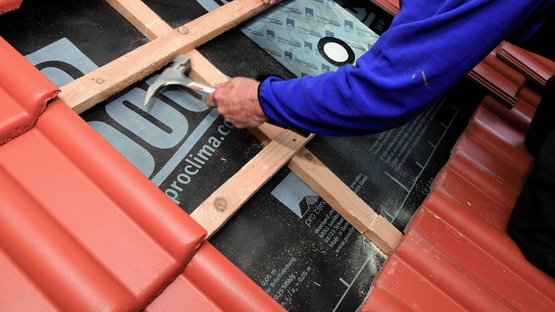
2. Remove the counter batten
If the pipe is directly next to a rafter, remove the counter batten in the area close to the penetration.
2. Remove the counter batten
If the pipe is directly next to a rafter, remove the counter batten in the area close to the penetration.
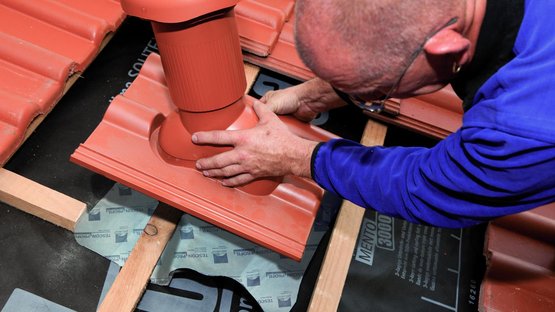
3. Install the vent with grommet
Guide the vent pipe through the underlay membrane. Align the vent with the grommet on the tile batten to fit in with the existing row of roof tiles. Guide the grommet under the tile battens.
3. Install the vent with grommet
Guide the vent pipe through the underlay membrane. Align the vent with the grommet on the tile batten to fit in with the existing row of roof tiles. Guide the grommet under the tile battens.
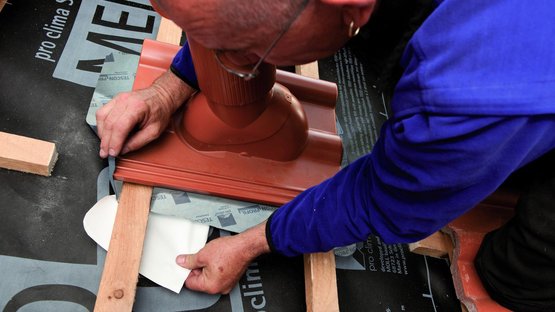
4. Stick the grommet
Clean the subsurface. Remove a section of the release paper and gradually stick the grommet in place.
4. Stick the grommet
Clean the subsurface. Remove a section of the release paper and gradually stick the grommet in place.
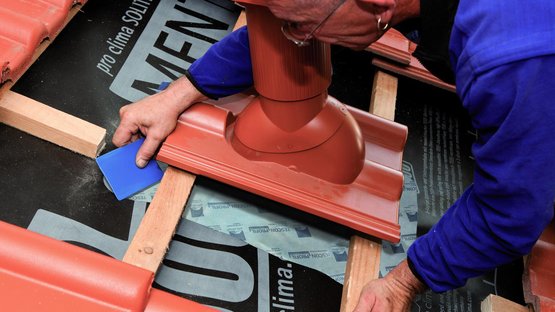
5. Rub to secure the adhesive bond
Rub firmly using the pro clima PRESSFIX application tool to secure the adhesive bond. Ensure that there is sufficient resistance pressure.
5. Rub to secure the adhesive bond
Rub firmly using the pro clima PRESSFIX application tool to secure the adhesive bond. Ensure that there is sufficient resistance pressure.
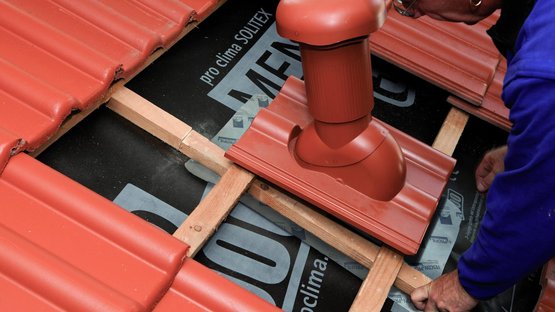
6. Reinstall the counter batten
As a final step, slide in the counter batten again and fasten. Cover the area with roof tiles again.
You’re finished!
6. Reinstall the counter batten
As a final step, slide in the counter batten again and fasten. Cover the area with roof tiles again.
You’re finished!
