Installation steps
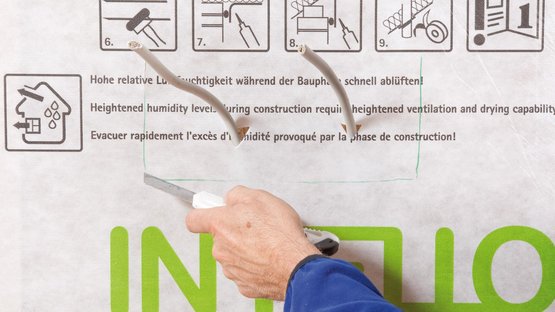
1. Create the cut-out
Mark out the position of the INSTAABOX and create the cut-out in the airtightness layer.
Dimensions 270 mm x 140 mm (10 5/8" x 5 1/2").
It can be installed either vertically or horizontally.
1. Create the cut-out
Mark out the position of the INSTAABOX and create the cut-out in the airtightness layer.
Dimensions 270 mm x 140 mm (10 5/8" x 5 1/2").
It can be installed either vertically or horizontally.
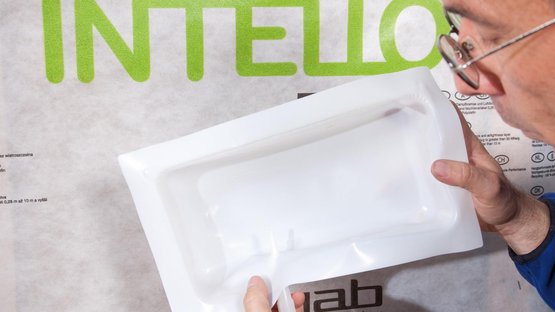
2. Pre-form the penetrations
Punch holes at the perforated punching points on the INSTAABOX using a conical object (e.g. a nail or cartridge nozzle).
Create a hole that is about 60% of the cable diameter.
2. Pre-form the penetrations
Punch holes at the perforated punching points on the INSTAABOX using a conical object (e.g. a nail or cartridge nozzle).
Create a hole that is about 60% of the cable diameter.
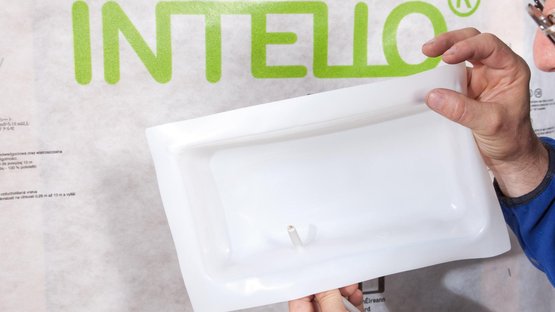
3. Feed the cables through
Support the INSTAABOX with your hand at the penetration point and pull cables with a diameter of up to 20 mm (3/4") through the previously created holes.
The plastic will create an airtight seal.
Ensure that cables sit freely and are not subject to tension in the INSTAABOX.
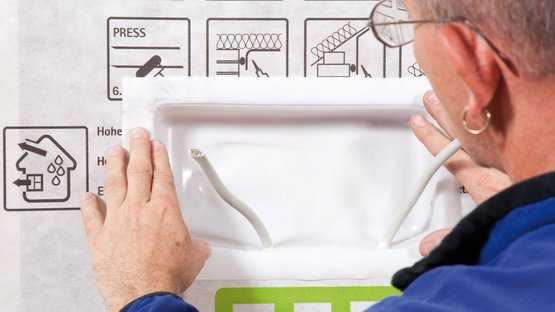
4. Put the INSTAABOX in place
Align the box with pulled-through cables on the airtightness layer.
4. Put the INSTAABOX in place
Align the box with pulled-through cables on the airtightness layer.
5. Create an airtight bond
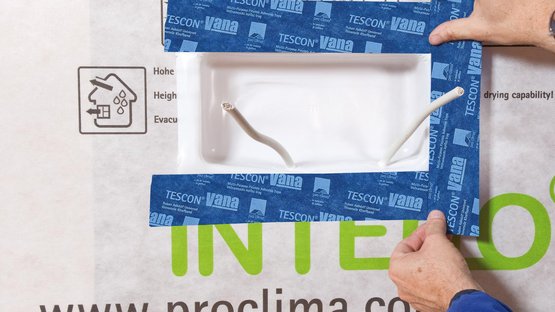
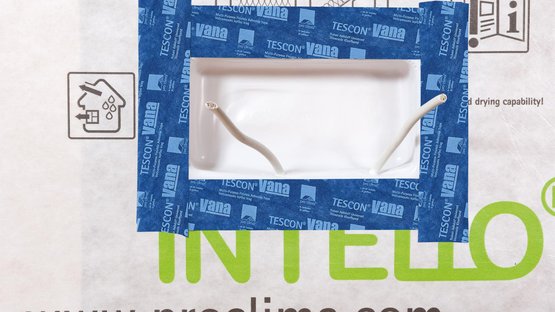
Create an airtight bond around the perimeter of the box using a pro clima adhesive tape (e.g. TESCON VANA) and rub firmly to secure the adhesive bond (PRESSFIX).
Ensure that there is sufficient resistance pressure.
5. Create an airtight bond
Create an airtight bond around the perimeter of the box using a pro clima adhesive tape (e.g. TESCON VANA) and rub firmly to secure the adhesive bond (PRESSFIX).
Ensure that there is sufficient resistance pressure.
6. Can be expanded flexibly
The installed INSTAABOX has enough space for up to three sockets or light switches.
Combine two or more boxes if greater lengths or widths are required.
6. Can be expanded flexibly
The installed INSTAABOX has enough space for up to three sockets or light switches.
Combine two or more boxes if greater lengths or widths are required.
